Monday, January 6, 2014

Cold Days

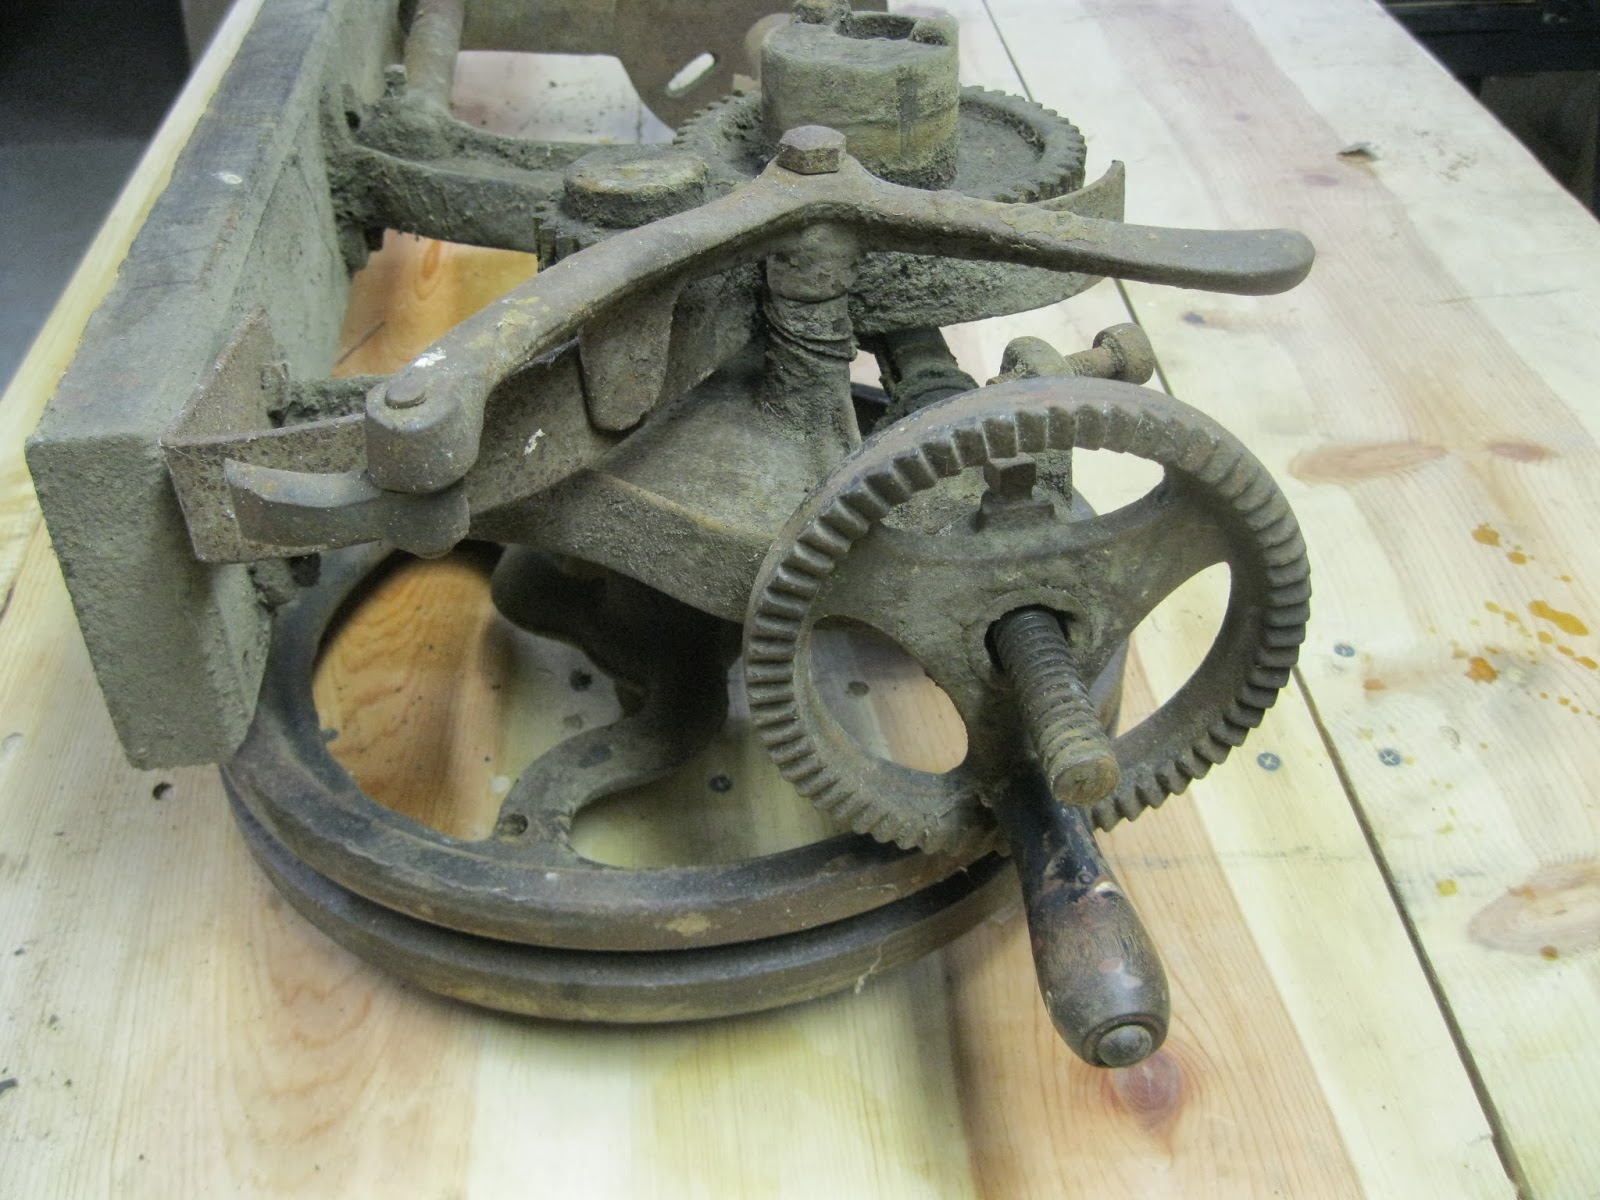
A cold day here at the house.  We woke up to see the following sights...


Work was cancelled, so we made french toast for breakfast and worked on a puzzle today.  I'm sure we weren't the coldest around, but it was cold enough for all of us.  With a -40 degree wind chill, we're happy to be in a warm house today.

Wednesday, January 1, 2014

A New Ride

After 14 years of nearly-faithful service, my daily driver truck is soon to be sold.  We purchased this 2012 Silverado in southern Illinois just a few days after Christmas.  We made a little mini-vacation out of the trip, and went to a Children's Museum and a hotel with a swimming pool along the way.


The 4-door crew cab allows lots of space in the back for the 3 kids.  Being used, it's not perfect, but the price was right.  We're blessed to be able to afford such a vehicle.

Happy New Years!

Monday, December 30, 2013

Christmas 2013

Kids celebrating the Jesus Birthday Cake they decorated on Christmas.

  Can you tell they're excited?

Friday, December 6, 2013

The Post Drill Refurb

Dad gave me this old post drill a few weeks ago.  As you can 
see, it is pretty crudded up with 100+ years of grunge.


A post drill was a blacksmith's drill press.  It was usually mounted on a post in their shop.  They had a handle on the right side (mine is missing) that cranks the gears and turns the spindle.  A large flywheel on the left kept the motion smooth and continuous.  It has a cool little mechanism that automatically lowers the spindle as you crank the machine.  This post drill was made by "Champion Blower and Forge Company" somewhere in the 1905 to 1910 era.

I did a little sandblasting, priming, and painting.  
Now it hangs on a wall in the shop in the basement.


 Who knew it could shine up so nicely.  And the oak sure cleaned up well.

A few things left to do:  I would like to fabricate a handle.  I also have the keyless chuck that is pretty well frozen up, and I would like to get that working nicely.

A fun little project.


Thursday, November 21, 2013

Depth Gauge Gauge

Anatomy of a chainsaw chain:

Here is a picture of one cutting tooth.  The depth gauge controls how much the cutting edge of the tooth will take off.  The bigger the difference in height between the top of the depth gauge and the top of the cutting tooth will result in a bigger chip.

But, if that gap is too big, the chainsaw motor will bog down.  If the gap is too small, you're not cutting as well as you could be.  I have researched and found this gap should be about 0.025 to 0.030 for hard woods.  If you're cutting softer woods, you can increase that gap up to 0.035 to 0.045, but that sounds like an awful lot to me.

Somehow, I needed to figure out a way to check the height of that depth gauge in relation to the top of the cutting tooth.  I could just hold up a straight edge between a couple of cutting teeth, and see where the chain saw depth gauge is, but how do I quantify that?

Lo and behold, I thought up of a little device and fab'd it up - the Depth Gauge Gauge.


To use this crazy thing, I place it flat against the side of the 
chainsaw bar, and then push it down on top of the cutting teeth.  


It straddles 2 cutting teeth to create a flat plane.
My dial indicator is on the chain saw depth gauge.


Then read the gauge.  In this picture, I previously set zero to 0.030 below the plane of the cutting edge teeth, thus the gauge is showing 0.026  (that is 0.004 shy of 0.030).


My shopping list was:
1.  A "plunger style" dial indicator - $3.99 off of Ebay.
2.  A nice chunk of walnut - free from a friend.
3.  A chunk of stainless steel - (a re-purposed 3/4" bolt)
4.  Small screws - $0.49 at the hardware store.

The dial indicator was a steal.  Just because it's old and ugly doesn't mean it won't work.  It works just fine.  Total travel distance is 0.100.  The face shows 0 to 0.020 and then back to 0 for a total of 0.040 per one revolution.


The face of the gauge can be rotated to set zero at any plane.  I made the gauge to provide a 0.050 stroke max - I don't foresee any depth gauge on my chainsaw being more than that height.


By making all the chain saw depth gauges to the same height, the chainsaw should run much smoother and shouldn't chatter in the log.  After making this measuring device, I measured every tooth on the saw - all 39 of them.  Depth gauge tooth ranged from 0.018 to 0.029.  And now after a little filing, all 39 of the the depth gauge teeth range from 0.028 to 0.030.  Smooth as silk.


Monday, October 14, 2013

A Beautiful Weekend

A few pics from the beautiful weekend:

Saturday morning soccer was a blast.

Sunday afternoon at Wolf Park was educational.


Fun at a little park in Battleground.

And hiking along Burnett Creek.


Saturday, October 5, 2013

The Chainsaw Fixture

I created a little fixture to hold the old McCulloch chainsaw securely in place during maintenance activities.  I made it primarily to help with proper sharpening.  The fixture locates the saw at 3 points, and also holds the bar up and off the bench so the chain can be pulled through easily.

This is the entire fixture.  It doesn't look too fancy.

But the chainsaw fits nicely into it.  

Here's a few key features.  This piece holds the handle:

Let's call this Location Point #1.

This funny shape holds the recoil /clutch mechanism:

Location Point #2.

This simple block holds the opposite side:

The 3rd Point of Location.  The saw is now located but one problem remains.

The bar is heavy, so I made this little clamp to hold the bar up.

By holding the bar up, I can pull the chain through when sharpening.

All these criss-cross marks are marks for sharpening.  The silver line is where the bar lies, and the blue sharpening guides are 3.250 inches apart - the same distance as the teeth.

  I follow the lines with my eye while filing.  
+30 degrees for the teeth on the right, and
-30 degrees for teeth on the left.

I did all this crazy design and building just to have a better sharpening system.  Without this fixture, I had a little +30 / -30 degree template drawn out on paper.  I tried to keep that under the saw while sharpening, and things always moved around.  It was annoying.  So now with this fixture to assist, I can make a more repeatable file stroke, and be more even in filing.  Even sharpening means less chatter when the saw is in use.

I can now sharpen the saw's 39 teeth in about 2 minutes.